


")
")


-
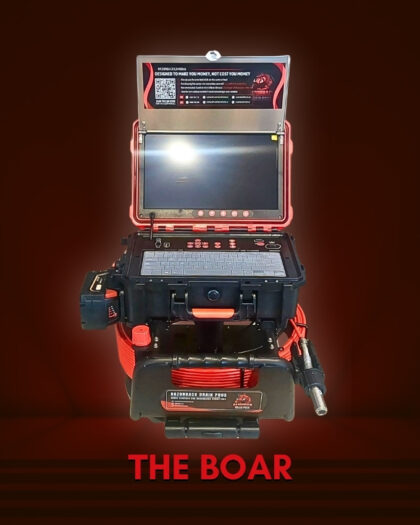
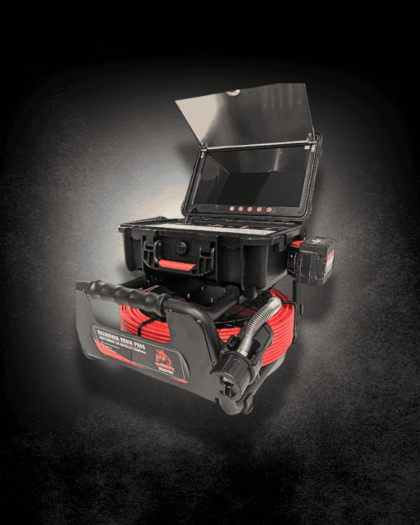
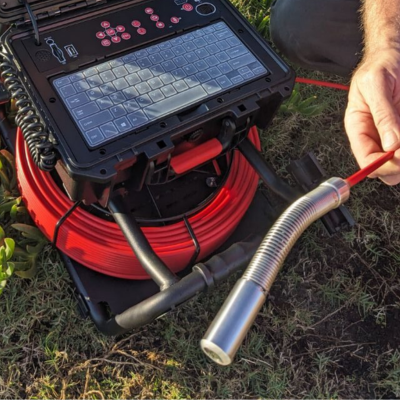
The Boar 21mm Drain Camera | Best for 90mm-150mm Pipes
$5,360.00The price includes GST. -
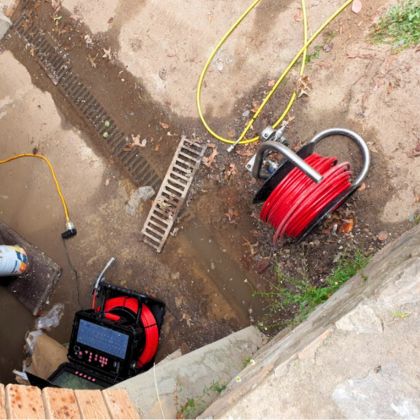
The Double P Dual Drain Camera for 25–150mm Pipes
$7,049.00The price includes GST. -
The Monster 21mm Drain Camera | Best for 90–150mm Pipes
Original price was: $5,010.00.$4,910.00Current price is: $4,910.00.The price includes GST.